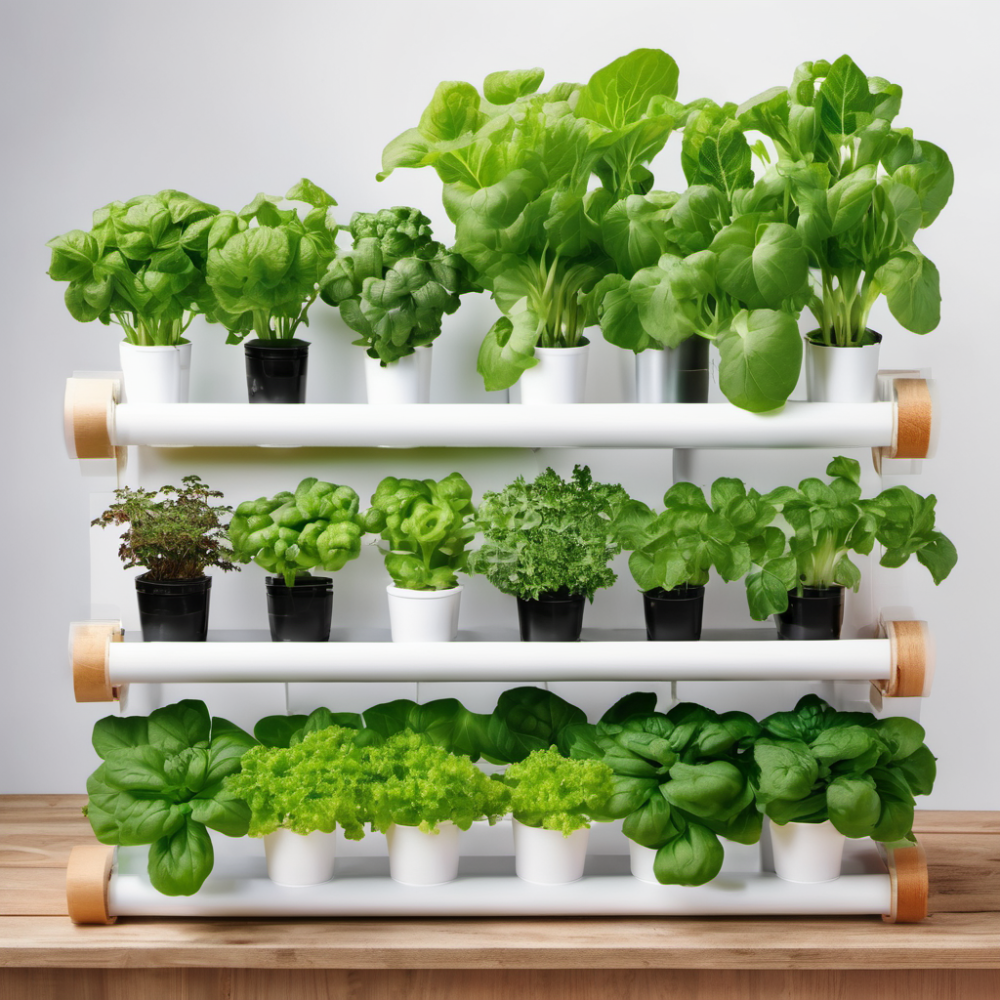
Hydroponics, the art of growing plants without soil, might sound intimidating, but it’s a surprisingly accessible and rewarding way to cultivate a thriving indoor garden. Whether you’re a seasoned gardener or a curious newbie, this guide will equip you with the knowledge and steps to embark on your hydroponic journey.
Step 1: Choose Your Hydroponic System
A vast array of hydroponic systems exists, each with its own advantages and quirks. Here are a few popular options for beginners:
- Deep Water Culture (DWC): Plants suspended in net pots rest over a nutrient-rich water reservoir, with roots dangling freely. Simple to set up and monitor, DWC is ideal for leafy greens and herbs.
- Nutrient Film Technique (NFT): A thin film of nutrient solution continuously flows through channels or gutters, nourishing the plant roots as they pass through. NFT excels for lettuce, strawberries, and other fast-growing plants.
- Wick System: Passive and self-contained, wick systems use wicks to draw nutrient solution from a reservoir to the plant’s growing medium. Perfect for herbs, small flowering plants, and beginners seeking a low-maintenance option.
Step 2: Gather Your Hydroponic Arsenal
Once you’ve chosen your system, it’s time to gather the essential equipment:
- Growing containers: Buckets, tubs, or specialized hydroponic systems will house your plants and nutrient solution.
- Net pots: These small, mesh baskets provide support and aeration for the plant roots.
- Growing medium (optional): Inert materials like perlite, rockwool, or coconut coir provide structural support for the roots and help retain moisture.
- Nutrient solution: Formulated specifically for hydroponics, these solutions deliver essential nutrients to your plants.
- Water pump and timer (optional): For systems like DWC and NFT, a pump and timer regulate the flow of the nutrient solution.
- Grow lights: Plants in hydroponic systems often require supplemental lighting, especially indoors. LED lights are energy-efficient and ideal for this purpose.
- pH meter and TDS meter: Monitoring the pH (acidity) and Total Dissolved Solids (nutrient concentration) of your nutrient solution is crucial for optimal plant growth.
Step 3: Seeding or transplanting?
You can start your hydroponic garden by either sowing seeds directly into the growing medium or transplanting seedlings from soil. Seedlings offer a quicker start, while seeds give you more variety and control over the growing process.
Step 4: Planting and Nurturing
Fill your containers with the chosen growing medium and place the net pots with your seeds or seedlings. Ensure the roots are submerged in the nutrient solution (for DWC) or resting on the wicks (for wick systems). Adjust the pH and TDS of your solution as needed, following the instructions on the fertilizer packaging.
Set your grow lights on a timer to provide 12-16 hours of daily light. Monitor the water level and nutrient concentration regularly, topping up or adjusting as needed. Keep an eye out for pests and diseases, and address them promptly with organic methods whenever possible.
Step 5: Harvest and Enjoy!
With proper care, your hydroponic garden will flourish, rewarding you with fresh, delicious produce. Harvest your fruits, vegetables, or herbs as they ripen, and savor the satisfaction of cultivating your own indoor oasis.
Bonus Tips:
- Start small and experiment with different plants and systems to find what works best for you.
- Join online communities and forums to connect with other hydroponic enthusiasts and learn from their experiences.
- Don’t be afraid to adjust and improvise. Hydroponics is a flexible and forgiving method, so have fun and let your green thumb flourish!
Remember, hydroponics is a journey, not a destination. Embrace the learning process, celebrate your successes, and enjoy the fresh, flavorful rewards of your indoor garden!
